Visitor Records
The Visitor Records Screen is used to record incoming and outgoing visitors, manage visitor information, and handle visit records.
Visitors Screen
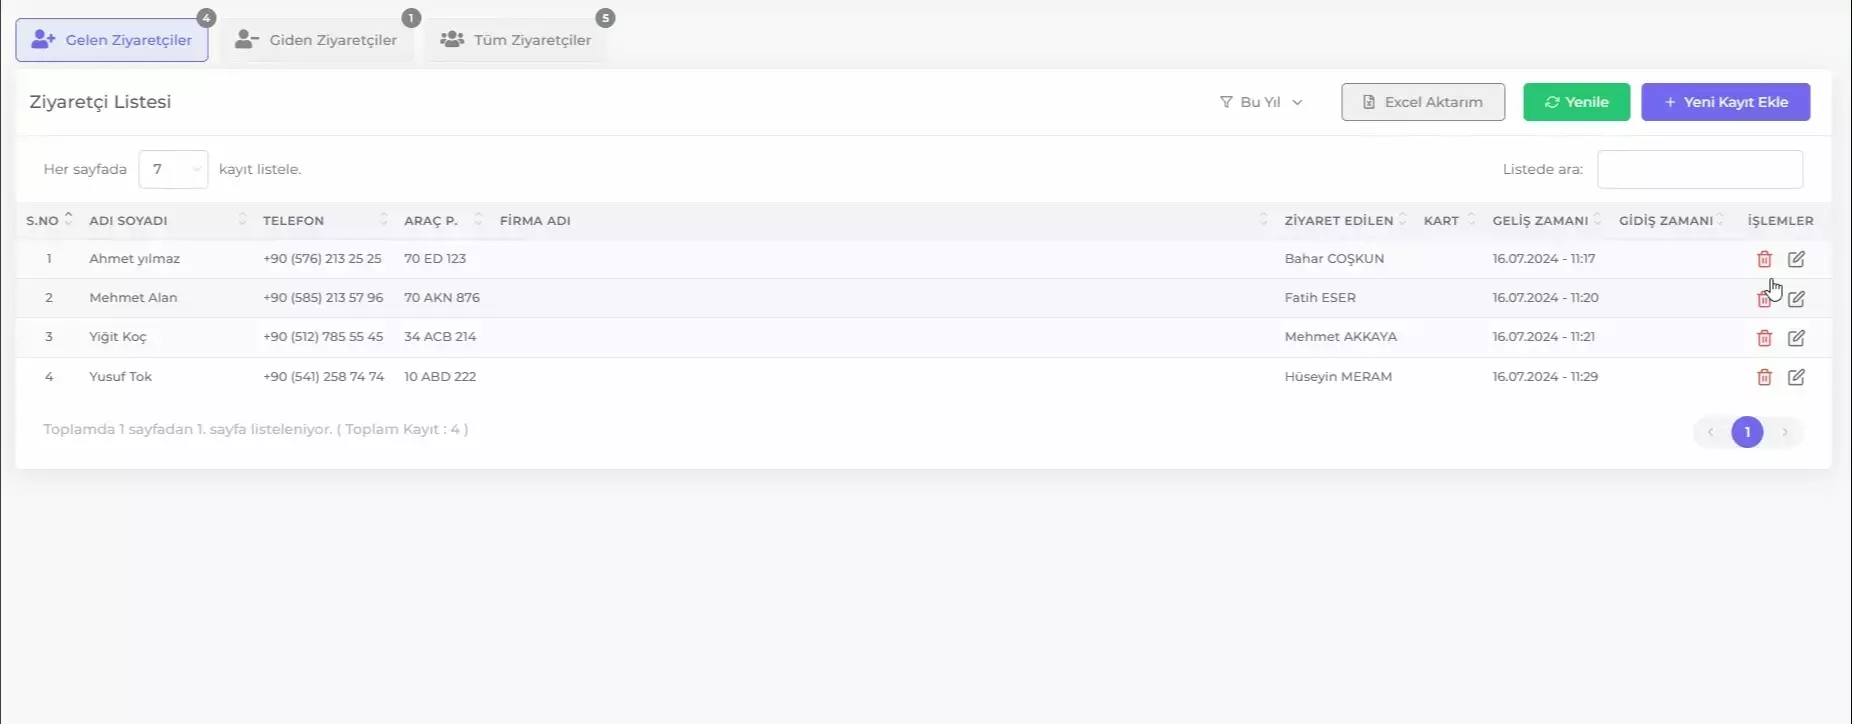
Visitor records filtered by date range are displayed on this screen.
To filter visitor records by specific time intervals, use the filtering options located in the top right corner. The filtering options include:
- This Year: Displays visitors recorded within the current year.
- This Month: Displays visitors recorded within the current month.
- This Week: Displays visitors recorded within the current week.
- Custom Filter: Allows filtering visitors by a specific date range or custom criteria.
Search in List: Allows filtering the table by a specific keyword in any field.
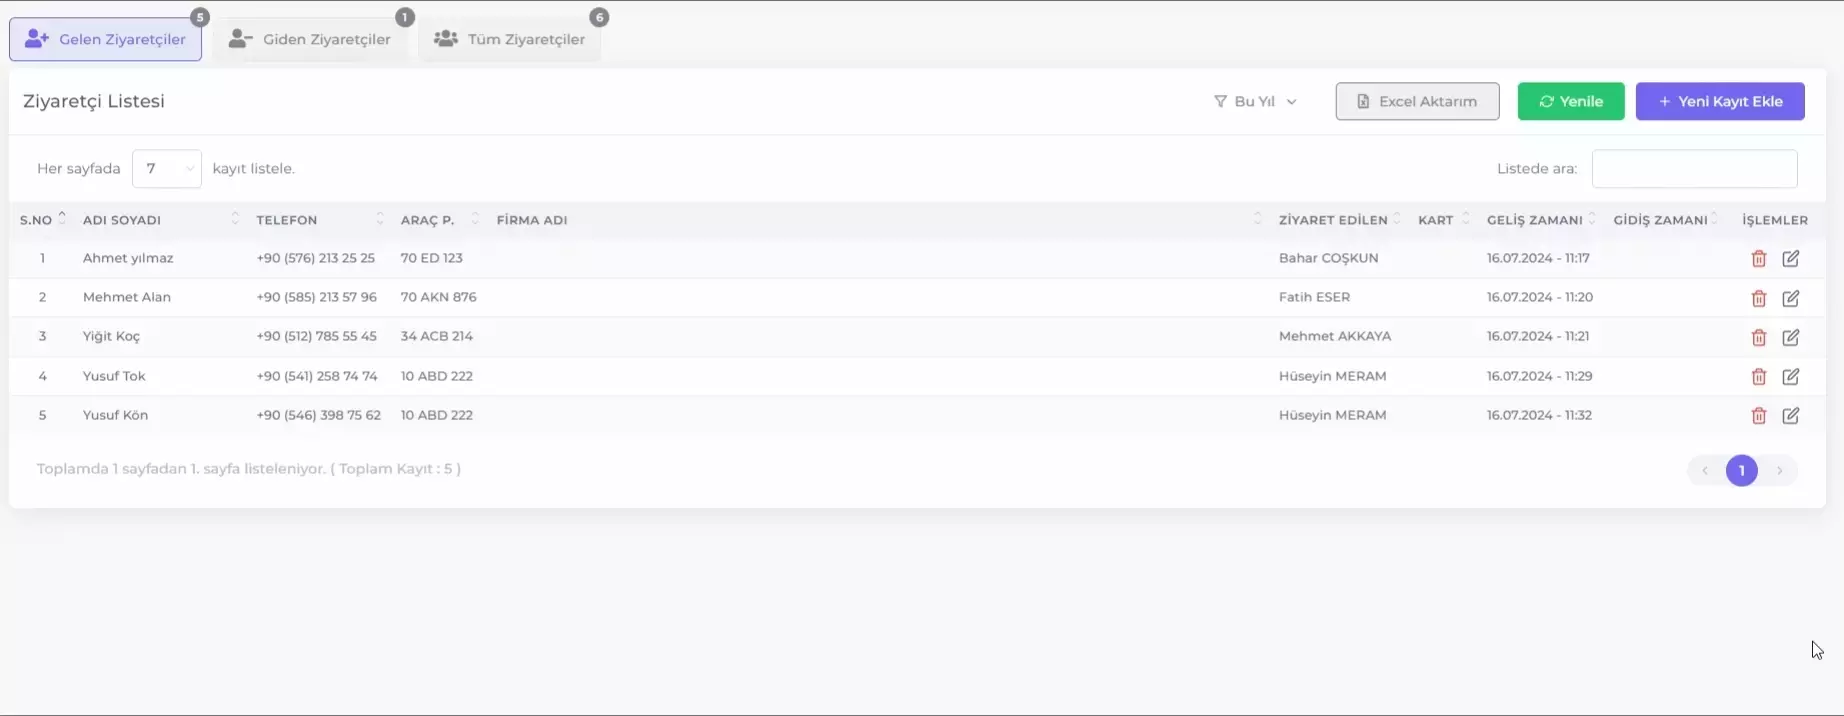
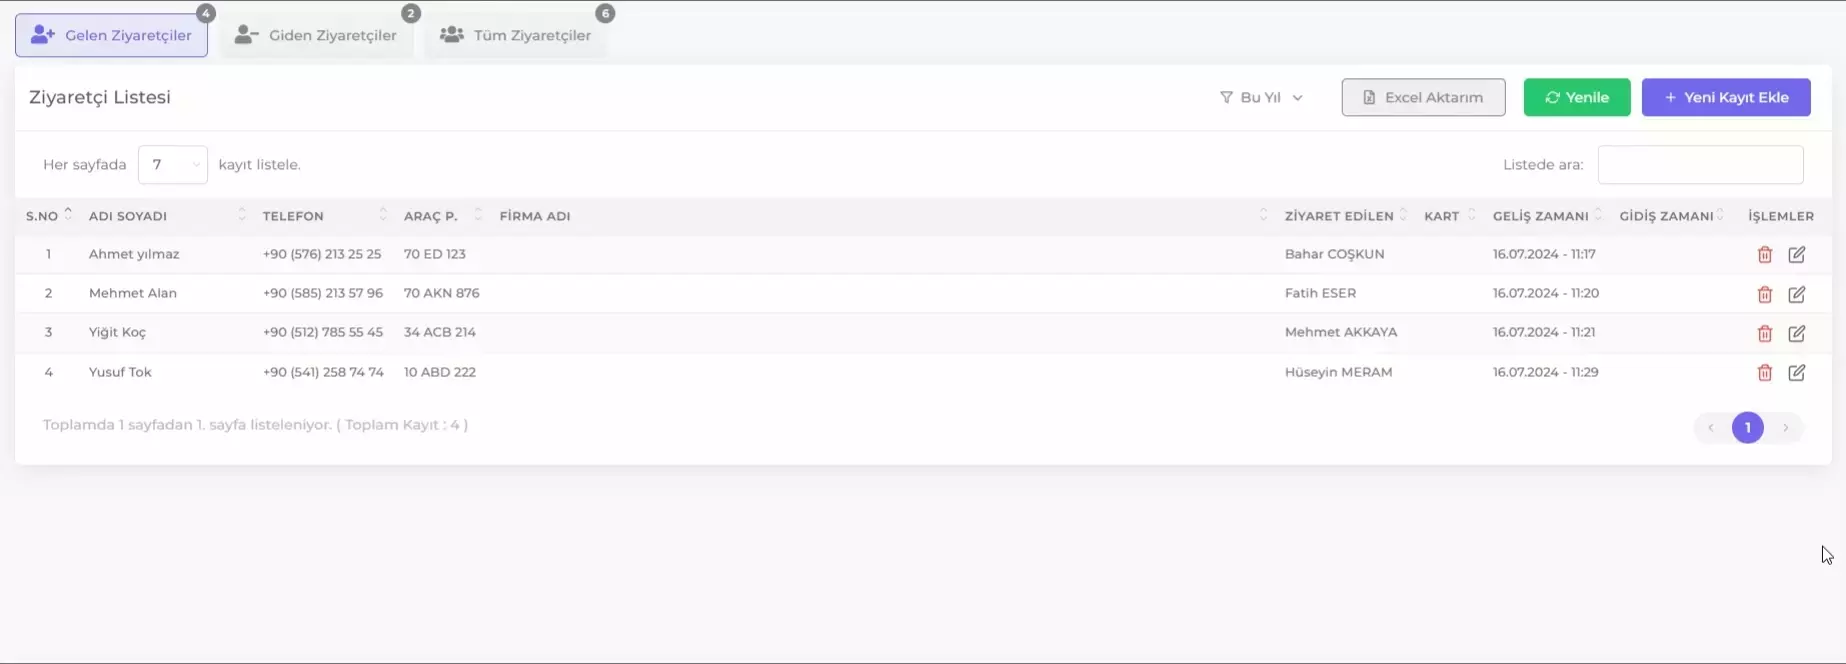
The Visitors Screen has three main tabs:
- Incoming Visitors: Lists visitors whose arrival time is recorded but departure time is not yet recorded.
- Outgoing Visitors: Lists visitors whose departure time is recorded.
- All Visitors: Lists all recorded visitors.
Visitor List

The visitor list displays visitor records on the page. Each record includes the following information:
- S.No: Visitor serial number.
- Name: Visitor's full name.
- Phone: Visitor's phone number.
- Vehicle Plate: Visitor's vehicle plate (if any).
- Company Name: Company where the visitor works (refer to Company List).
- Visited Person: Name of the person visited.
- Card (if any): Card number issued to the visitor (if applicable).
- Arrival Time: Date and time when the visitor arrived.
- Departure Time: Date and time when the visitor departed (left blank if not recorded yet).
- Operations: Options to edit or delete the visitor record.
Adding, Editing, and Deleting Visitor Records

To add a new visitor record, click the Add New Record button. To edit an existing record, click the Edit icon next to the record.
The Visitor Information Form consists of four main tabs:
-
Visitor Information: This tab includes basic information about the visitor. Fill in the required fields to create a visitor record.
- Name: Enter the visitor's full name.
- Country: Select the country from which the visitor is arriving.
- Phone Number: Enter the visitor's contact phone number.
- Vehicle Plate (if any): Enter the visitor's vehicle plate number.
- Company Name: Select the company the visitor represents or works for (Refer to Company List).
- Visit Reason: Specify the purpose of the visitor's visit.
-
Visit Details: This tab includes information about who the visitor is visiting and details about the visit acceptance. Enter the name of the person to be visited and details about the acceptance of the visit.
- Visited Personnel: Select the person the visitor is visiting.
- Acceptance Type: Select the type of visit acceptance.
- No Approval Required: No prior approval required for the visitor's acceptance. The visitor is accepted directly.
- Approval by Phone: Approval for the visitor's acceptance is obtained via phone. After confirmation by phone, the visitor is accepted.
- Sent to Mobile for Approval: Approval for the visitor's acceptance is requested via mobile device. The visitor acceptance process is initiated by sending a request for approval to the mobile device.
- Mobile Approved: Approval for the visitor's acceptance is obtained via a mobile device. After providing approval via the mobile device, the visitor is accepted.
- Mobile Denied: Approval for the visitor's acceptance is requested via a mobile device but denied. The visitor is not accepted due to denial via the mobile device.
- Visitor Not Accepted: The visitor is not accepted for any reason. The visitor is rejected without going through the acceptance process.
- Acceptance Date and Time: Enter the date and time the visit was accepted. This field is used to record when the visit occurred.
-
Entry Procedures: This tab includes procedures related to the visitor's entry. Items received by the visitor and cards issued to the visitor are recorded here.
- Items Received: Enter items issued to the visitor (e.g., ID card, Mobile Phone, etc.). This field is used to record items issued to the visitor.
- Card (if any): Enter the card number issued to the visitor. This field is used to record the issuance of a visitor access card and is optional.
- Arrival Date and Time
-
Exit Procedures: This tab includes procedures related to the visitor's exit. The departure date and time are recorded here. Click the current date and time button to automatically enter.
- Departure Date and Time: Enter the date and time the visitor departed. This field is used to record when the visitor arrived.
Click the Save button on the Visitor Information Form to save the added or edited information.

Deleting Visitor Records: To delete a visitor record, click the icon and then click the Delete Visit button to delete the record.

Exporting Visitor Records to Excel
Visitor records can be exported in Excel format. This option is available using the Export to Excel button at the top of the visitor list. Follow these steps to save Visitor Records as Excel:
- Arrange the Visitor Records Table as you wish it to appear in Excel.
- Click the Export to Excel button.
- Select the location on your computer where you want to save the file from the window that opens.
- Click Save button.