Personnel Timesheet
The Personnel Timesheet is a tool designed to help businesses collectively view the attendance and overtime statuses of their employees in a single table. This timesheet provides detailed information on the daily attendance and overtime statuses, as well as monthly totals, for a specified payroll year and month.
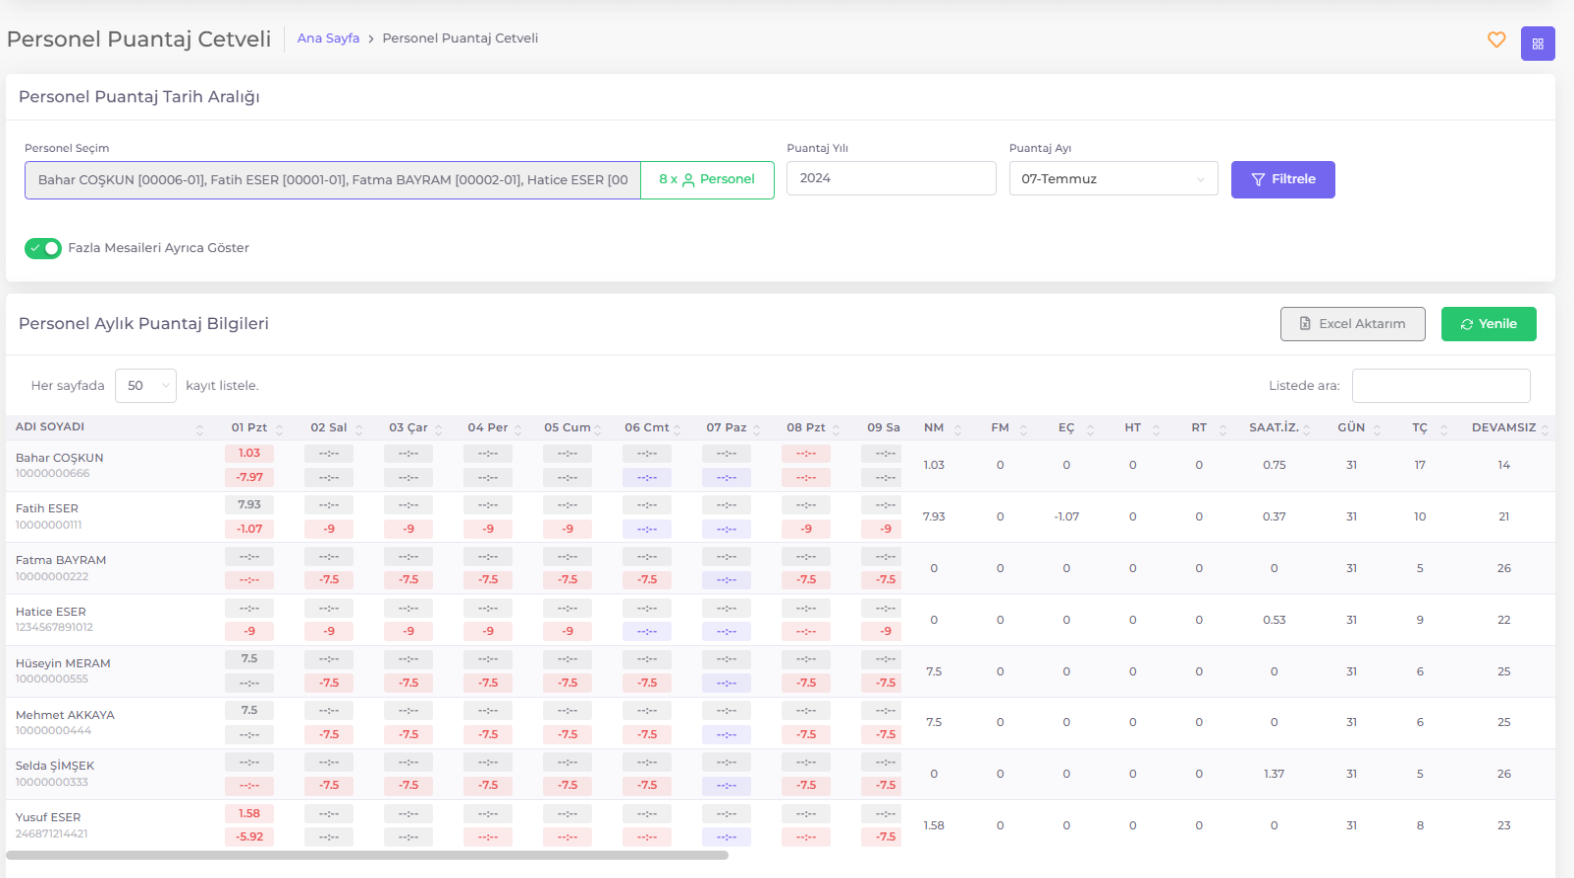
Personnel Timesheet Screen
The Personnel Timesheet main screen has two main sections:
- Personnel Timesheet Filtering Area

- Personnel Monthly Timesheet Information

Personnel Timesheet Date Range
In this section, you can view personnel timesheet information for a specific date range. At the top of the screen, the following filtering options are available:
- Personnel Selection: You can select multiple personnel and view their timesheet information collectively. The selection area includes personnel names and ID numbers.
- Payroll Year: You can select the year for the month you want to review.
- Payroll Month: You can select a specific month to view the timesheet information for that month of the selected year.
- Show Overtime Separately: When this option is enabled, overtime/short time information, weekend/public holiday/leave working status is shown separately in the date columns.
Personnel Monthly Timesheet Information
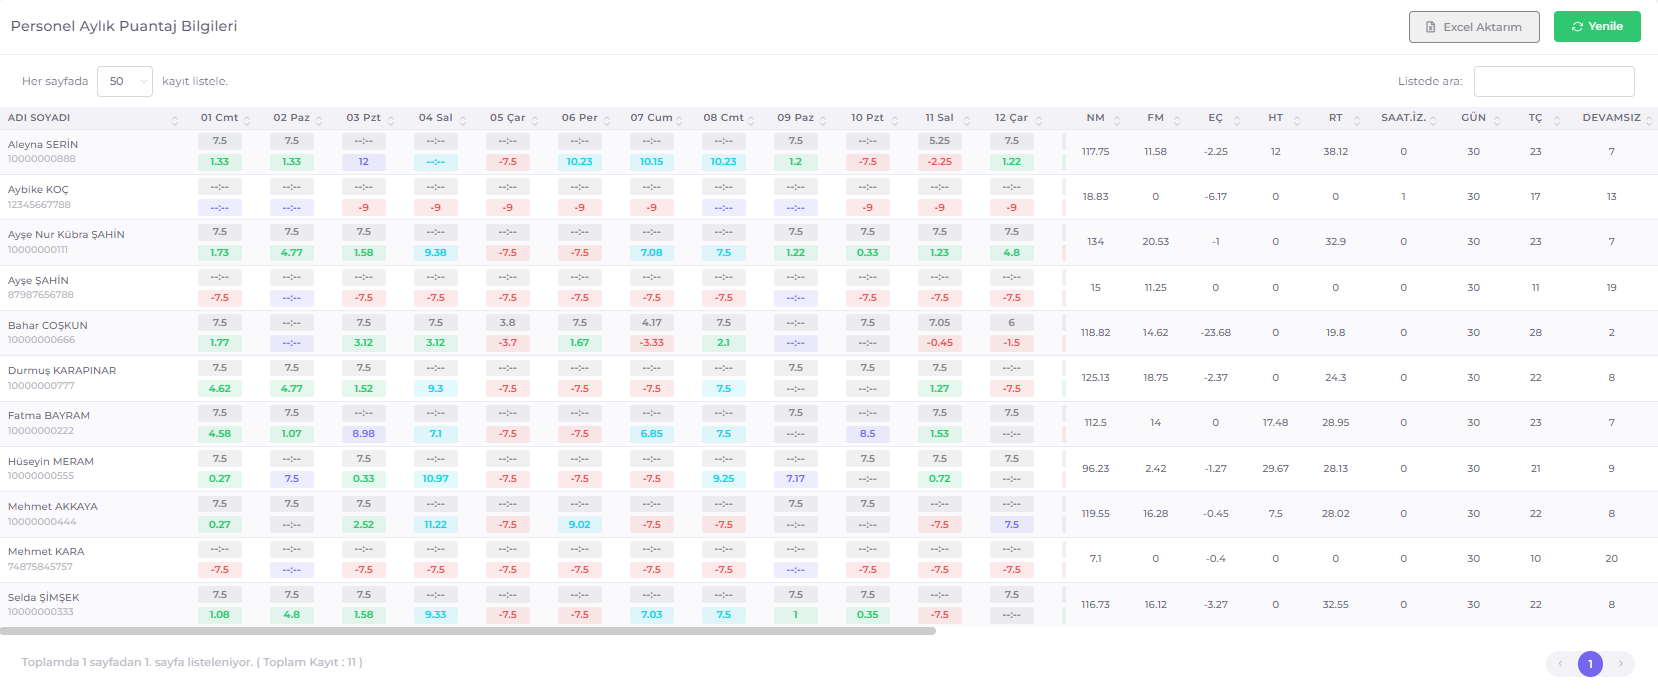
In this section, the monthly timesheet information of personnel is listed in detail according to the selected date range and criteria. For each employee, it includes the following information:
- Daily Working Status: The working status of the employee for each day of the selected date period.
- The
first boxin each day column of each employee shows the normal working hours. - When Show Overtime Separately is enabled, the second box shows overtime/short time information, weekend/public holiday/leave working status.
- Overtime Overtime working status beyond normal working hours. (For example: 1.5 indicates 1.5 hours of overtime.)
- Short Working Time Short working time status less than normal working hours. (For example: 1.5 indicates 1.5 hours of short time.)
- Weekend Working status on weekends. (For example: 7.5 indicates 7.5 hours of work on weekends.)
- Public Holiday Working status on public holidays. (For example: 7.5 indicates 7.5 hours of work on public holidays.)
- Leave Working Day Working status on a recorded leave day. (For example: 7.5 indicates 7.5 hours of work on a leave day.)
- The
- Monthly Totals (in hours)
- NM (Normal Working Hours): Total Normal working hours of the employee during the month.
- FM (Overtime): Total Overtime hours of the employee during the month.
- EÇ (Short Working Time): Total short working hours of the employee during the month.
- HT (Weekend): Total weekend working hours of the employee during the month.
- RT (Public Holiday): Total public holiday working hours of the employee during the month.
- Hour Leave: Total hourly leave taken by the employee during the month.
- Monthly Totals (in days)
- Days: Number of days in the selected date period.
- TÇ (Total Working): Number of working days.
- Obtained by subtracting absentee and unpaid leave days from the total number of days in the month.
- Absentee: Total number of absentee days of the employee during the month.
Personnel Timesheet Operations
Timesheet Filtering Operations
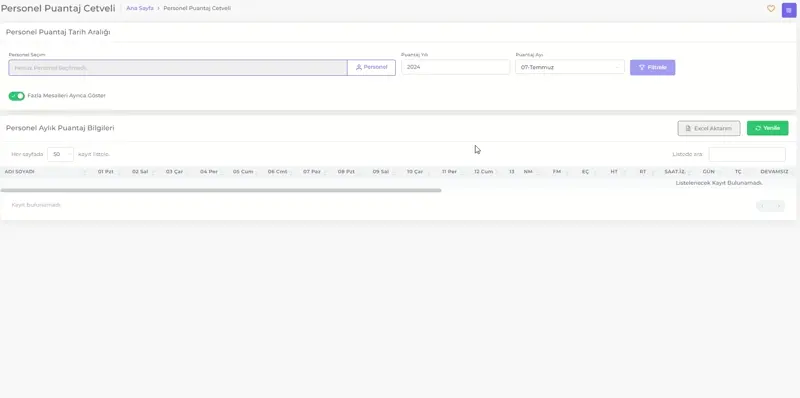
- Click the Personnel button in the Personnel Selection area.
- Select the desired personnel or personnel from the list.
- You can filter the personnel selection by using the filter options in the opened window and clicking the Filter button.
- Click the OK button.
- Selected personnel will be displayed in the Personnel Selection box.
- Select the Payroll Year.
- Select the Payroll Month.
- Click the Filter button.
Search in List
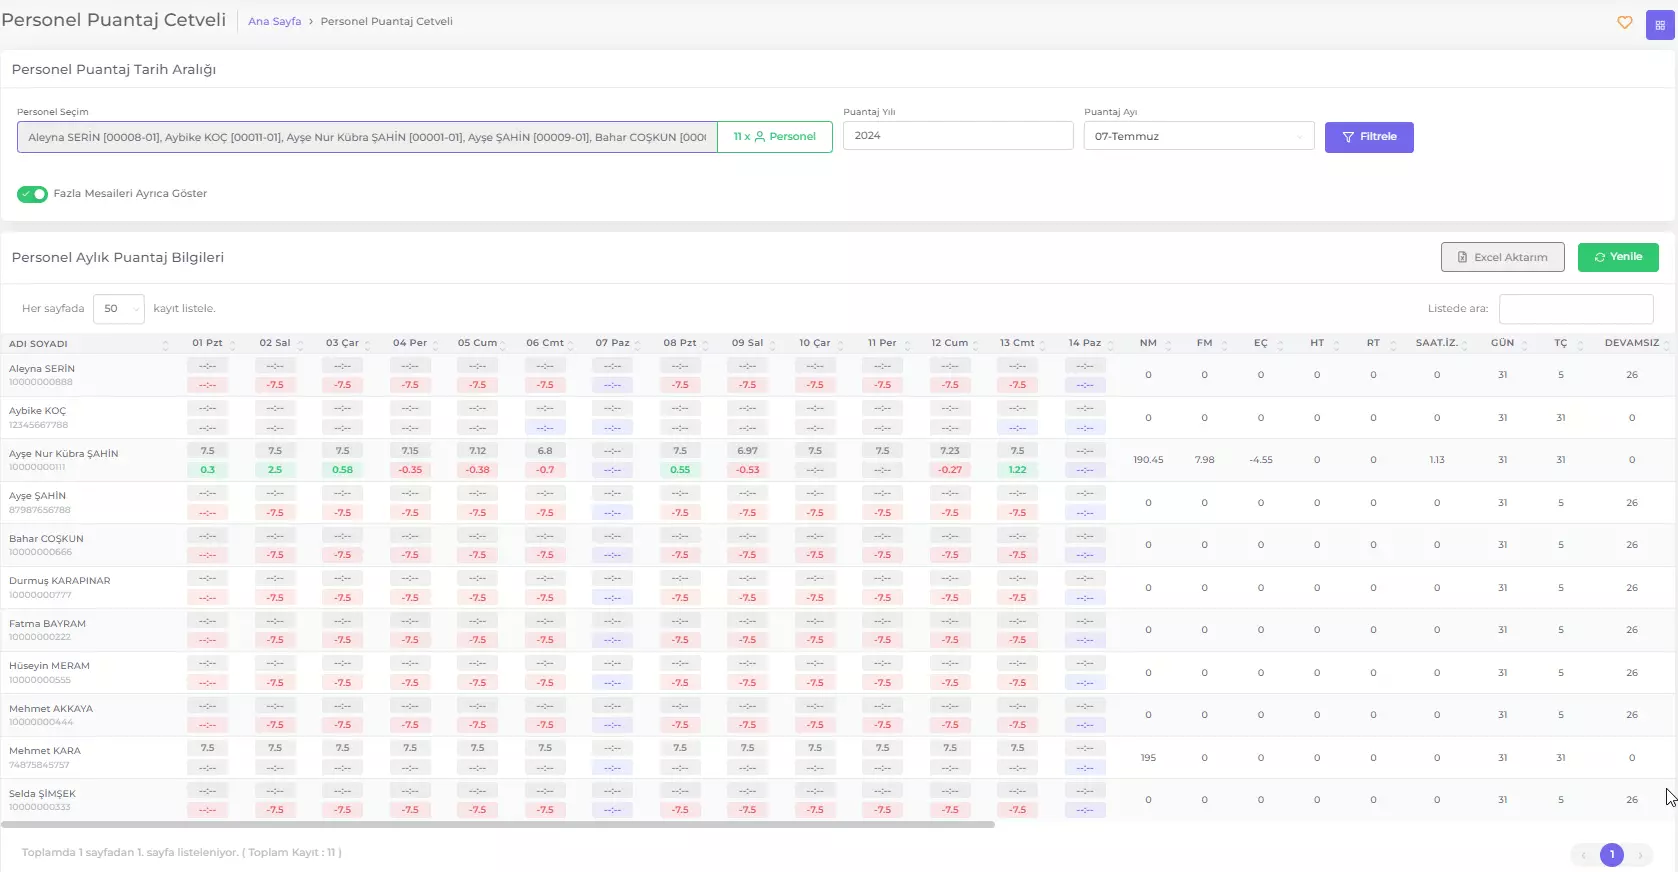
Allows filtering based on any keyword in any field of the listed table.
- Enter the keyword you want to search in the "Search in list" box.
- Rows containing the relevant keyword will be displayed in the table.
Sorting by Column
You can sort all rows in ascending/descending order or alphabetically by clicking the column header.
- Click the header of the column you want to sort.
- Clicking once will sort the column in ascending order.
- Clicking the same column header again will sort it in descending order.
Records per Page
Sets the number of records displayed per page. You can use this area to select the number of records you want to see on the page.
- Click the dropdown menu next to the "per page" expression.
- Select the number of records you want to display from the opened list (e.g., 50).
- The specified number of records will be displayed on the page after your selection.
Adding/Editing Personnel Entry-Exit Records from the Timesheet
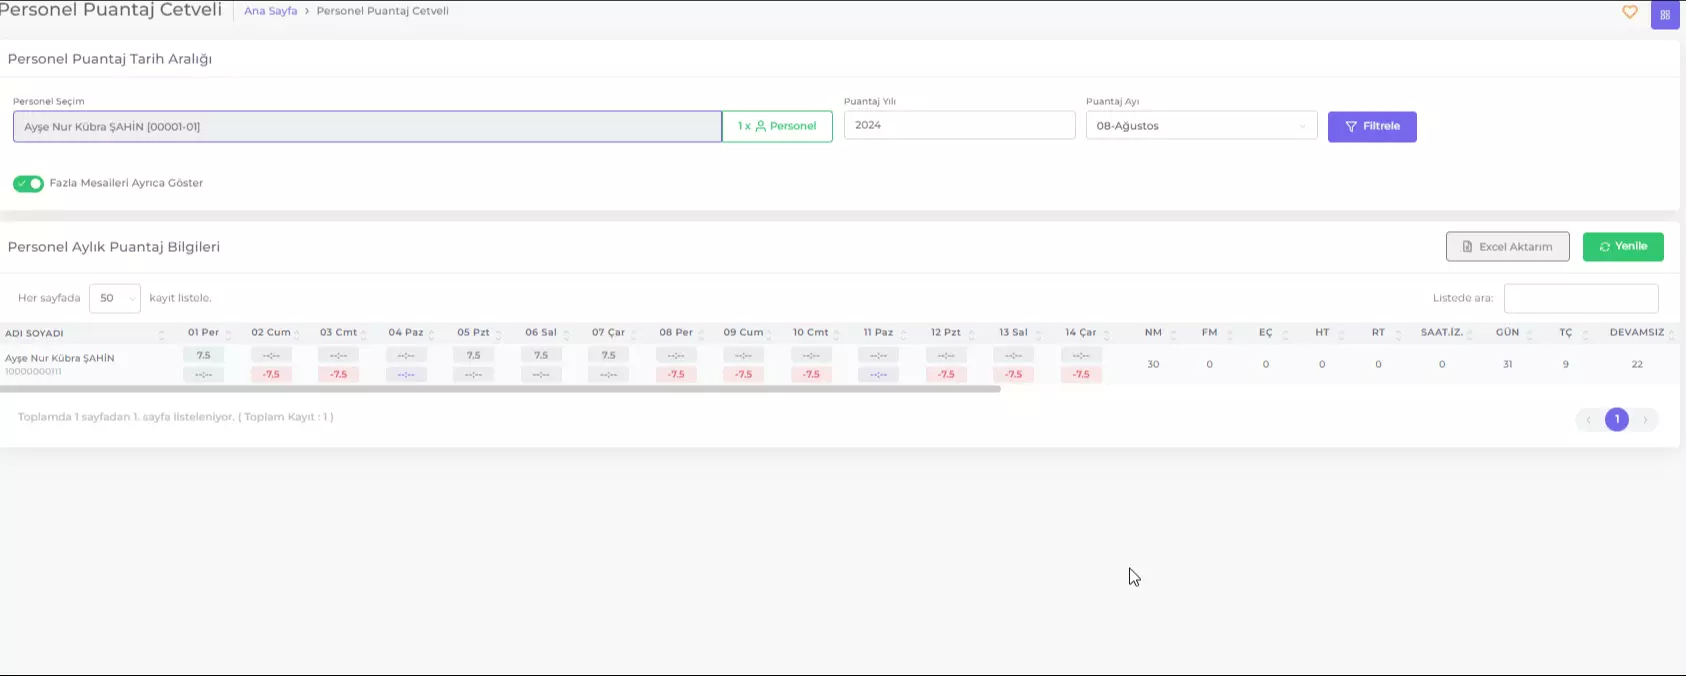
- Click on the duration information of the relevant record on the relevant date to open the Personnel Entry/Exit Information.
- Enter or change the entry/exit information you want to add.
- Click the Save button.
Exporting Timesheet Table to Excel
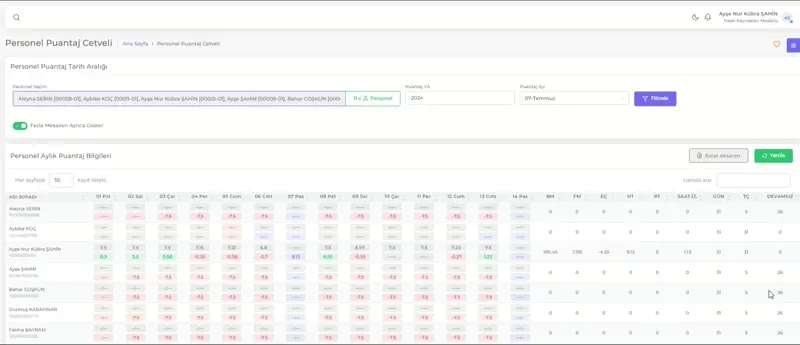
You can save the detailed timesheet table displayed on the page as an excel file on your computer using the Export to Excel function. Follow these steps:
- List the timesheet table information you want to export to excel.
- Click the Export to Excel button.
- Select the location on your computer where you want to save the file from the opened window.
- Click the Save button.