Locations & Devices

This section includes the settings required for recording and processing employees' entry and exit logs. The concepts of "Location", "Location Groups", and "Devices" will be defined and their functions will be explained. Additionally, procedures such as "Adding a Location", "Adding a Location Group", and "Adding and Managing Devices for Locations" will be detailed with step-by-step application examples. This will provide information about the operation of the employee entry-exit process.
You can access Location and Device Settings by clicking Company Settings and then Locations and Devices in the menu. In this section, you can perform the following operations:
- Creating and Managing Location Groups
- Creating and Managing Locations
- Adding and Managing Devices / QR codes for Locations
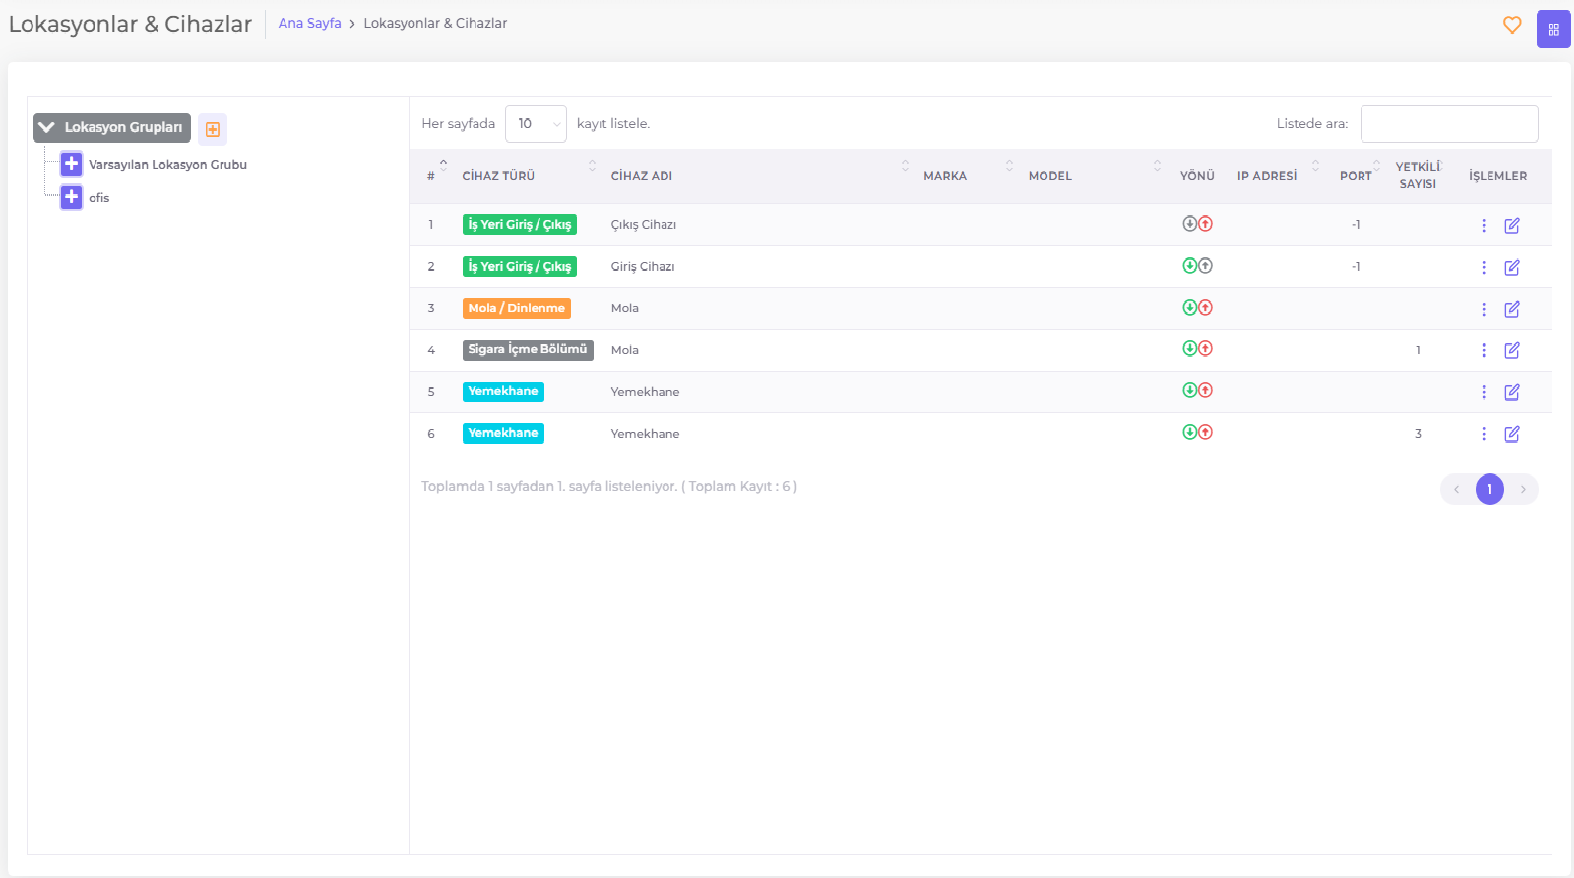
Definitions
Location Groups
Location groups are structures used to group different physical places of an organization. These groups facilitate management by bringing together locations with similar functions or physical locations.
For example, a company can separate its offices in different cities into location groups. Thus, each location group can be used to track the entry and exit of personnel in that region.
Location
A location represents a specific physical place or workplace of the organization.
For example, a company's offices in different cities such as Ankara, Istanbul, and Izmir can be defined as separate locations. Each location is used to record the entry and exit of employees working in that city.
Similarly, branches or departments located in different regions within the same city can also be defined as separate locations. For example, different stores or office floors within a shopping mall in a city can be designated as separate locations.
Additionally, entry-exit transition points can be different places at the same location. For example, different floors or sections of an office building can each be defined as separate locations, and access control can be provided between these locations.
Relationship between Location Groups & Locations
The relationship between location groups and locations is a structure used to manage and organize the complex structures of an organization. Locations represent specific physical places or workplaces, while location groups are used to group these locations.

For example, a company can create locations for its offices in multiple cities. Each office can be defined as a separate location. The company's offices in Ankara, Istanbul, and Izmir can each be designated as separate locations. In this case, the schema will be as follows:

However, creating separate locations for offices in different regions of the same city can sometimes lead to managerial complexity. In this case, offices with similar locations can be grouped under a location group. For example, offices in different districts of Istanbul can be grouped under an "Istanbul Offices" location group. This group represents all the offices in Istanbul and can be used to manage transactions between these offices. In this case, the schema will be as follows:

In this way, location groups make the organizational structure more manageable by bringing together locations with similar functions or physical locations. This facilitates processes such as employee attendance control and provides greater control over management.
Devices
Devices are the technologies used in the operation of the employee attendance control system. These devices are used to record and monitor employees' entry and exit. Devices are usually card readers, virtual devices, central type devices, or QR codes.
Device Type
The device type is a specific classification of the device used in the employee attendance control system. These classifications represent devices used to record specific activities or functions of employees. For example, the "Workplace Entry-Exit" device type is used to record employees' entry and exit to work, while "Cafeteria" or "Break-Rest" device types can be used to record employees' meal breaks or rest periods. Similarly, other device types such as "Smoking Area" or "Work Area" can be defined as customized devices to record specific activities of employees. These types of devices are used to manage the operation and data collection processes of the employee attendance control system.
Device Direction
Device direction is a feature that determines the transition direction feature of the devices used in the employee attendance control system. This feature defines how the device will be used when employees pass through a specific area.
-
Entry: The "Entry" device direction indicates that the employee is entering a specific area. These types of devices are used to record the start time of work or entry into a specific area.
-
Exit: The "Exit" device direction indicates that the employee is exiting a specific area. These types of devices are used to record the end time of work or exit from a specific area.
-
Bidirectional: The "Bidirectional" device direction is used for devices that can monitor both entry and exit transitions. These types of devices are used in areas where employees can both enter and exit a specific area.
Authorization
Authorization is a process used to determine whether access permission will be granted to certain employees for the devices used in the employee attendance control system. This process regulates the use and access of devices while ensuring security and data integrity.
-
Unrestricted Device: The "Unrestricted Device" authorization type indicates that the device can be used by all employees. This type of authorization allows all employees to record their entry and exit without restricting the use of a specific device. It is preferred in general areas or regions requiring collective use.
-
Authorizable Device: The "Authorizable Device" authorization type allows only certain employees to use the device. This type of authorization controls access by granting certain employees permission to enter or exit specific areas. It is preferred in areas requiring restricted access or special regions and increases the level of security. This type of authorization is usually integrated with identity verification methods such as personnel authorization card data.
Device Type
The device type indicates the technology and functions used in the employee attendance control system. This feature defines the different devices used to record employees' entry and exit and how they are used.
-
QR Code: The QR code is used to record employees' entry and exit. Employees scan the QR code located at the relevant location with the mobile application when entering or exiting. It is used at entry and exit points and ensures employee identity verification.
-
Virtual Device: The virtual device is a software solution used in the employee attendance control system. It allows employees to record their entry and exit from their current location using their mobile device.
-
Central Type Device: It is used for businesses that will create entry and exit records with fingerprint systems.
Adding a Location Group

- Click on Company Settings > Locations and Devices in the menu.
- Click on the Location Groups drop-down menu on the left column of the page.
- Click on the icon that appears after clicking.
- Enter the Location Group name and Description in the window that opens.
- Click the Save button.
Editing - Deleting
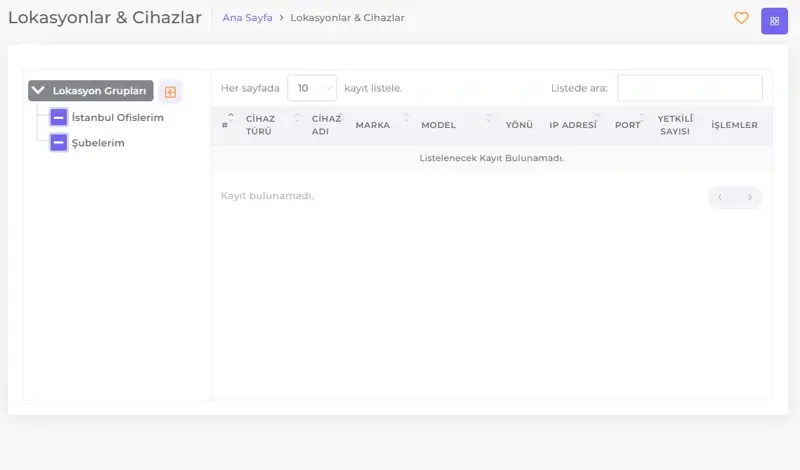
- Click on Company Settings > Locations and Devices in the menu.
- Click on the Location Groups drop-down menu on the left column of the page. The previously added location groups will appear under this menu.
- Click on the name of the Location Group you want to edit or delete.
- The icons for Delete , Edit , and Location will appear.
- To edit the Location Group, click on the Edit icon, make the desired changes, and click the Save button.
- To delete the Location Group, click on the Delete icon, and in the confirmation window that opens, click the Delete Location Group button.
Adding a New Location
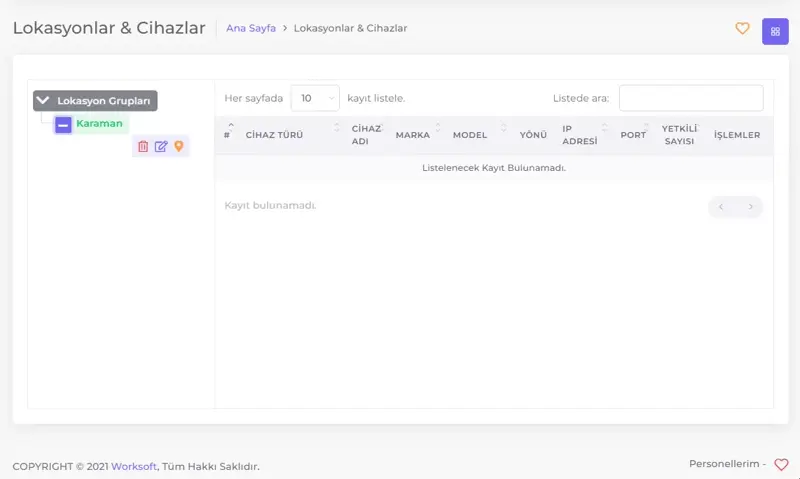
- Click on Company Settings > Locations and Devices in the menu.
- Click on the Location Group you want to add a Location to under the Location Groups drop-down menu on the left column of the page.
- Click on the Location icon from the Action icons that appear.
- In the window that opens, enter the Location name and Location Description (Optional).
- Set the Location Tolerance values.
- To use the defined Company Tolerance Values, turn on the Use Company Tolerance Values toggle.
- To set specific tolerance values for this Location, turn off the Use Company Tolerance Values toggle and use the active slider to set the Location Tolerance Amount by sliding it left or right to the desired value.
- Enter the Latitude and Longitude information.
- Click the Open Map button next to the Latitude, Longitude boxes.
- Mark the exact location on the map that opens.
- Click the Save button.
Editing - Deleting
Editing:
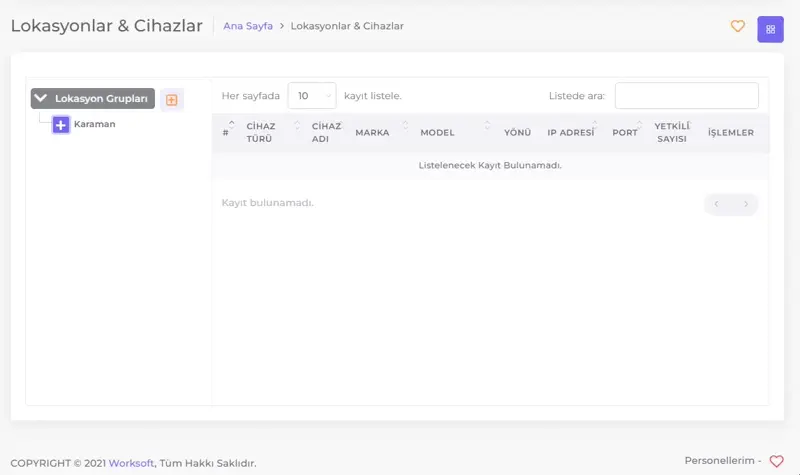
Deleting:
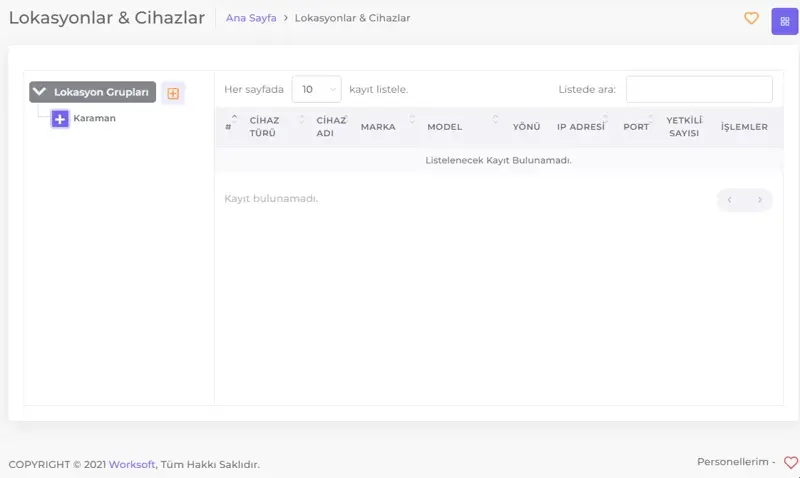
- Click on Company Settings > Locations and Devices in the menu.
- Click on the Location Groups drop-down menu on the left column of the page. Expand the Location Group containing the Location you want to edit or delete by clicking the Expand icon next to the group name.
- The Locations belonging to the Location Group will appear. Click on the name of the Location you want to edit or delete.
- From the Action icons, click the Edit icon to make the desired changes and then click the Save button. To delete, click the Delete icon, and in the confirmation window that opens, click the Delete Location button.
Adding and Managing Devices
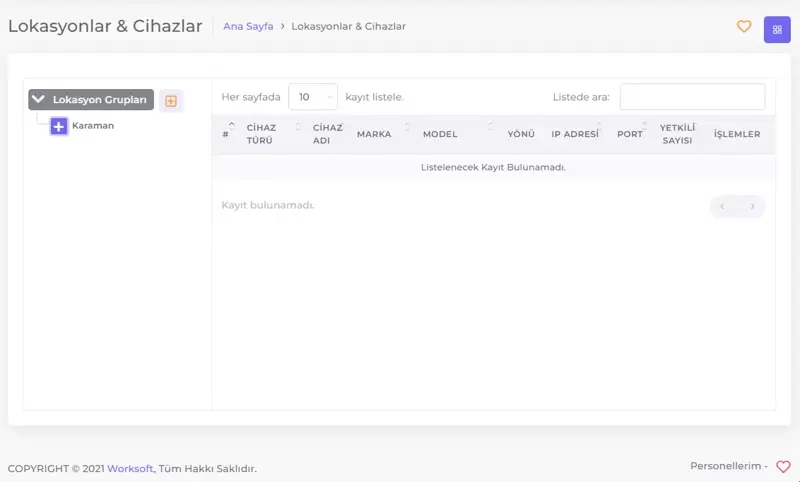
- Click on Company Settings > Locations and Devices in the menu.
- Expand the Location Group containing the Location you want to add a Device to by clicking the Expand icon next to the group name. The Locations will appear.
- Click on the name of the Location you want to add a Device to. The action icons will appear.
- Click on the Card icon from the action icons.
- Fill in the form in the window that opens and click the Save button:
- Device Name: Enter the name of the device you want to add.
- Device Type: Select the device type. For example, "Workplace Entry-Exit," "Cafeteria," "Break-Rest," "Smoking Area," or "Work Area."
- Device Direction: Select whether the device is for entry, exit, or bidirectional.
- Authorization Type: Determine the authorization type of the device. Choose between "Unrestricted Device" or "Authorizable Device."
- Device Type: Select the type of the device. Choose between "QR Code," "Virtual Device," or "Central Type Device."
- Description: Enter a descriptive function and location for the device.
- Save: After entering all the information, click the "Save" button to add the device.
Listing - Editing - Deleting
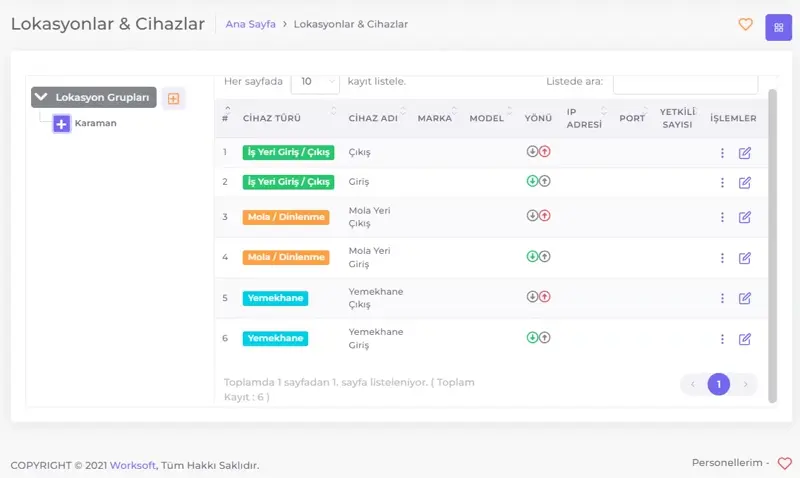
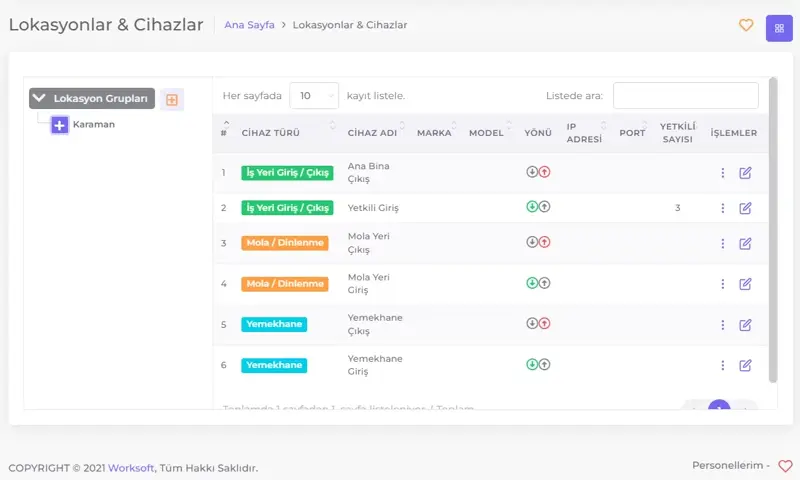
To view the devices or QR codes for a location:
- Go to the relevant location.
- Click on the location.
- All devices and QR codes for that location will be listed.
To edit a device / QR code:
- Click the "Edit" icon at the end of the row of the device you want to edit.
- Make the desired edits.
- Click the "Save" button.
To delete a device / QR code:
- Click the "Action menu" icon at the end of the row of the device you want to delete.
- Click the "Delete" option.
- In the confirmation window that opens, click the "Delete Device" button.
Device Authorization
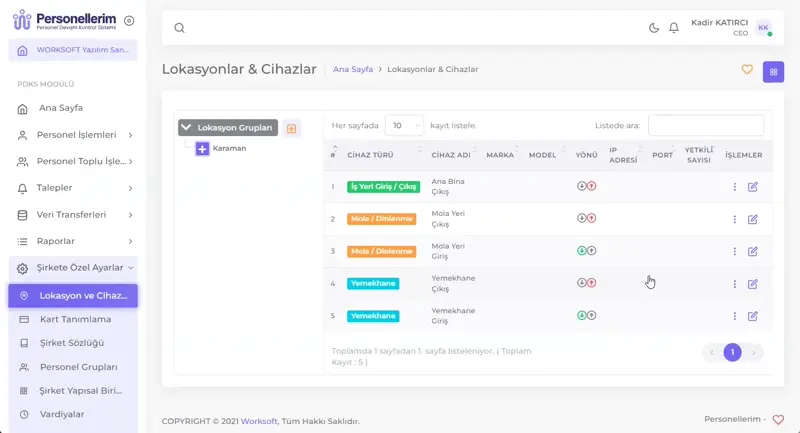
To authorize personnel for a device, follow these steps:
- Go to the location where the device is registered.
- Click the Action menu icon at the end of the row of the relevant device.
- Click the Authorized Personnel option from the action menu that opens.
- Select the groups where the personnel you want to authorize are located.
- If you want to filter:
- Select the relevant groups from the filter window that opens.
- Click the 'Filter' button.
- If you do not want to filter, close the filter window.
- If you want to filter:
- Check the approval boxes in the left column of the personnel you want to authorize.
- Click the OK button.
Obtaining a QR Code
- Go to the location where the device is registered.
- Click the Action menu icon at the end of the row of the relevant device.
- Click the Show QR Code option from the action menu that opens.
- Click the Print button.