Survey List

The Survey List screen is an interface where existing surveys are viewed, edited, and new surveys are added. Users can view and manage survey titles, descriptions, start and end dates, target audience information, and notification settings through this screen.
Surveys Screen
- + Add New Record: The button used to add a new survey record.
- Search in List: Allows filtering in any field of the listed table based on a specific keyword.
- Select Fields to Display in Table: Allows selecting the fields you want to display in the table by clicking the icon in the top right corner of the table.
Survey List Table

The Survey List screen is an interface where existing surveys are listed and managed.
Fields Related to Survey Information
- SN (Serial Number): The serial number automatically assigned to each survey record.
- Title: The field showing the title of the survey.
- Description: The field providing a brief explanation of the content of the survey.
- Start: Shows the start date and time of the survey.
- End: Shows the end date and time of the survey.
Fields Related to Target Audience
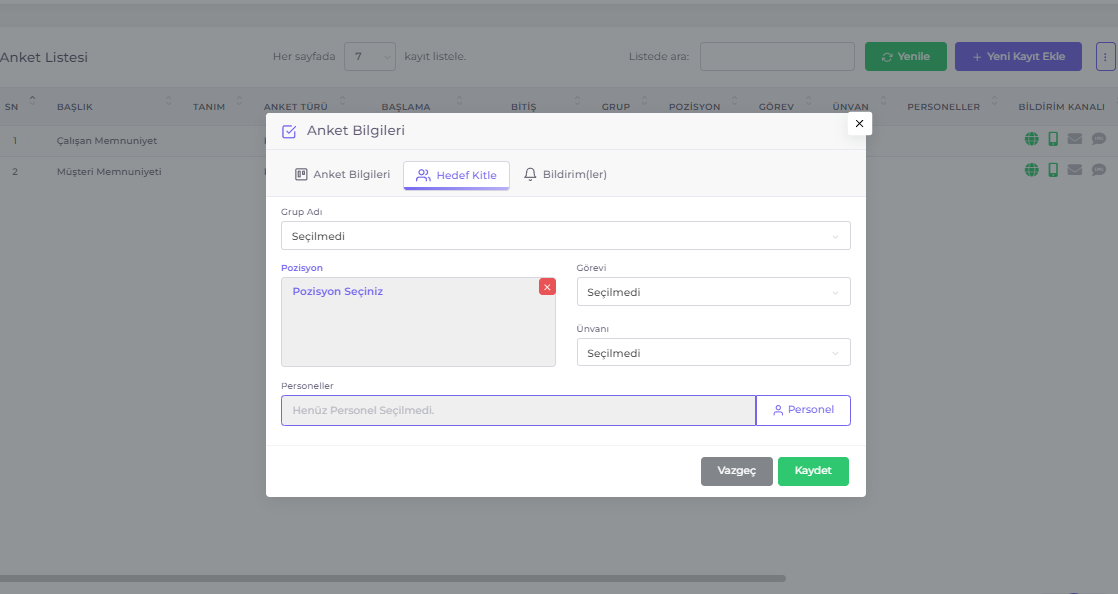
- Group: The field showing the Message Group included in the target audience.
- Position: The field showing the position of the personnel included in the target audience.
- Task: Task criteria of personnel in the selected position.
- Title: Title criteria of personnel in the selected position.
- Personnel: Other personnel included in the target audience.
Fields Related to Survey Record
- Notification Channel: The field indicating the channel through which survey notifications will be made (Browser, Notification, Email, SMS).
- Status: Shows the Published / Suspended status of the survey.
- Number of Questions: The field showing the total number of questions in the survey.
- Published / Potential Participants: Indicates the total number of personnel included in the target audience and how many of them were notified.
- Partial / Complete Survey: The field indicating the completion status of the survey.
- Actions: Actions for the survey record. (Edit, Download Responses, Publish / Suspend Survey, Delete)
Adding a New Survey
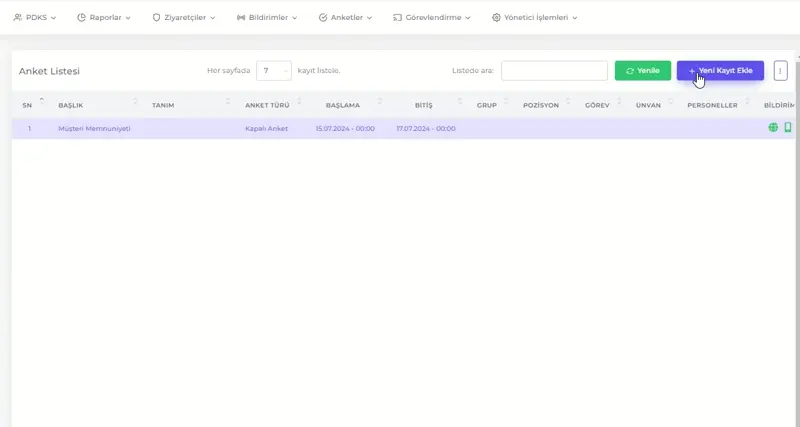
This document details the necessary steps to add a new survey in the survey management system.
Entering Survey Information
- Survey Title: Enter the title of the survey in the "Survey Title" field.
- Start Date and Time: Enter the start date and time of the survey in the "Start Date" and "Start Time" fields.
- End Date and Time: Enter the end date and time of the survey in the "End Date" and "End Time" fields.
- Survey Description: Write a brief description of the survey content in the "Survey Description" field.
Entering Target Audience Information
- Group Name: Select the group name targeted by the survey from the "Group Name" field.
- Position: Select the job position of the target audience from the "Position" field.
- Task: Select the "Task" criteria for the selected position.
- Title: Select the "Title" criteria for the selected position.
- Personnel: Add other personnel targeted by the survey by clicking on the "Personnel" field.
Notification Settings
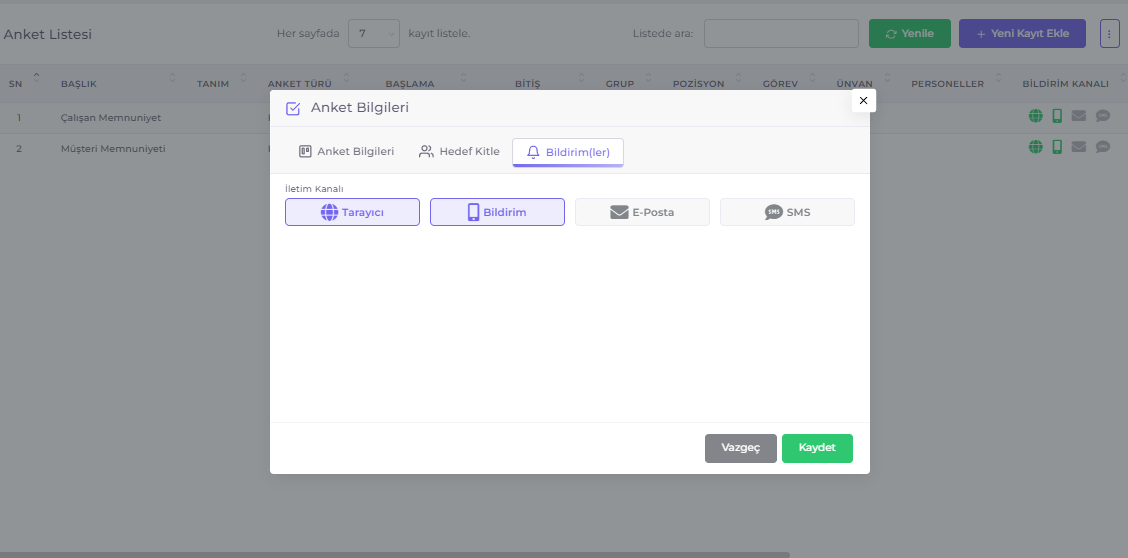
- Transmission Channel: Select the channels through which survey notifications will be made:
- Browser
- Notification
- SMS
Click the Save button to create the survey record.
Editing a Survey
Necessary changes are made by clicking the Edit button at the end of the row of the survey record to be updated, and the changes are updated by clicking the Save button.
Publishing / Suspending a Survey
Publishing a survey means that the target audience personnel can access the published survey.
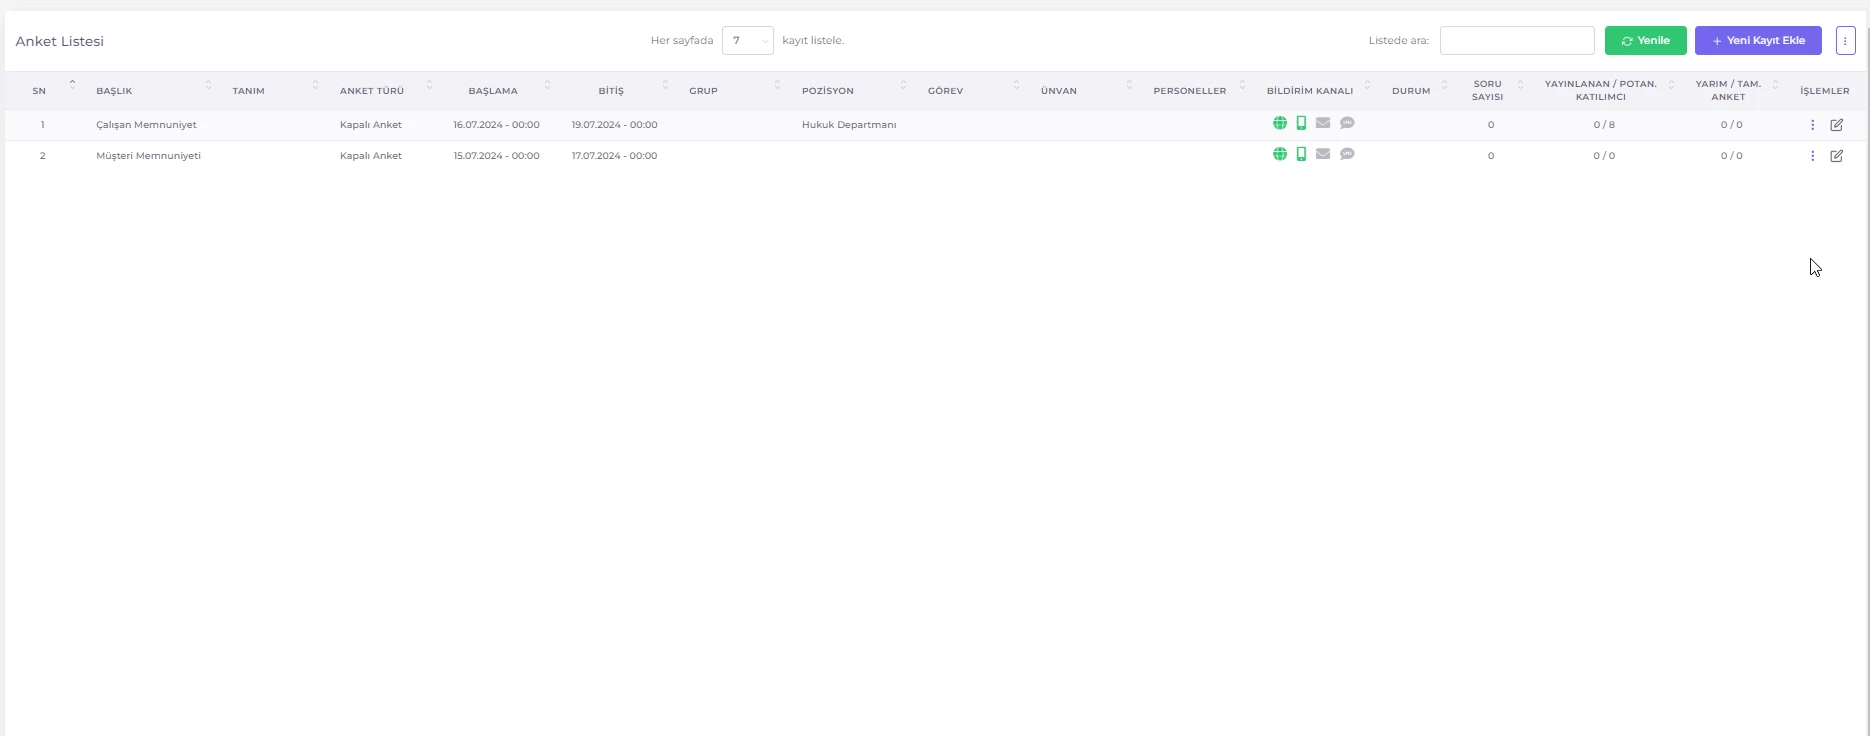
Follow these steps for the publishing survey process:
- Click the Action Menu icon at the end of the relevant survey record row from the survey list.
- Click the Publish Survey option from the menu that opens.
- Click the Publish Survey button from the window that opens.
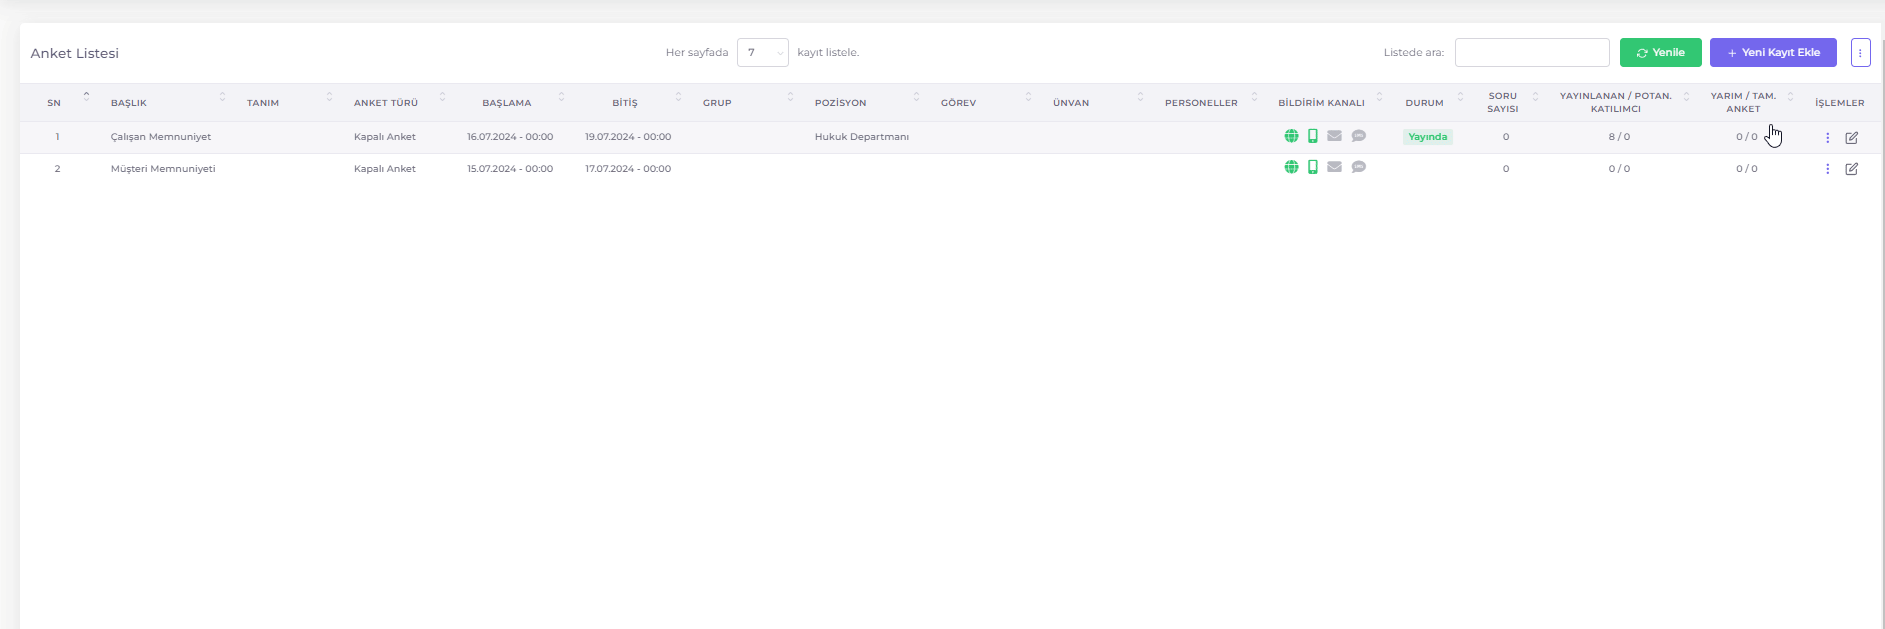
Follow these steps to suspend a published survey:
- Click the Action Menu icon at the end of the row of the published survey record from the survey list.
- Click the Suspend option from the menu that opens.
- Click the Remove from Publishing button from the window that opens. Access to and answering of suspended surveys are immediately stopped. Participants are not notified.
Notifying Participants of the Survey

To ensure that the target audience responds to the published survey, you can send notification messages containing the survey link to the personnel included in the target audience.
Follow these steps to send notification messages to participant personnel:
- Click the Action Menu icon at the end of the row of the relevant survey record from the survey list.
- Click the Notify Participants option from the menu that opens.
- The channels through which the notification will be made will be shown in green in the window that opens.
- Click the Notify Participants button and confirm the sending to send the notification message through the specified channels.
Download Answers to Computer
Personnel can download their survey answers in excel format using the Download Answers function.
To download the answers, follow these steps:
- Click the Action Menu icon at the end of the relevant survey record row from the survey list.
- From the pop-up menu, click the Download Answers button.
- From the pop-up window, select the location to save the excel file and click the Save button.
This will download the excel file containing the survey questions and answers to your computer.
Delete Survey

You can delete survey records that are in the Suspended state.
To delete a survey, follow these steps:
- Click the Action Menu icon at the end of the row of the suspended survey record from the survey list.
- From the pop-up menu, click the Delete option.
- From the pop-up window, click the Delete Survey button.